Struggling to price arches & garlands? This NEW simple calculator does the math for you.
- Home
- Balloon Clouds
How to Make Balloon Clouds: Romantic Decor for Your Wedding Reception
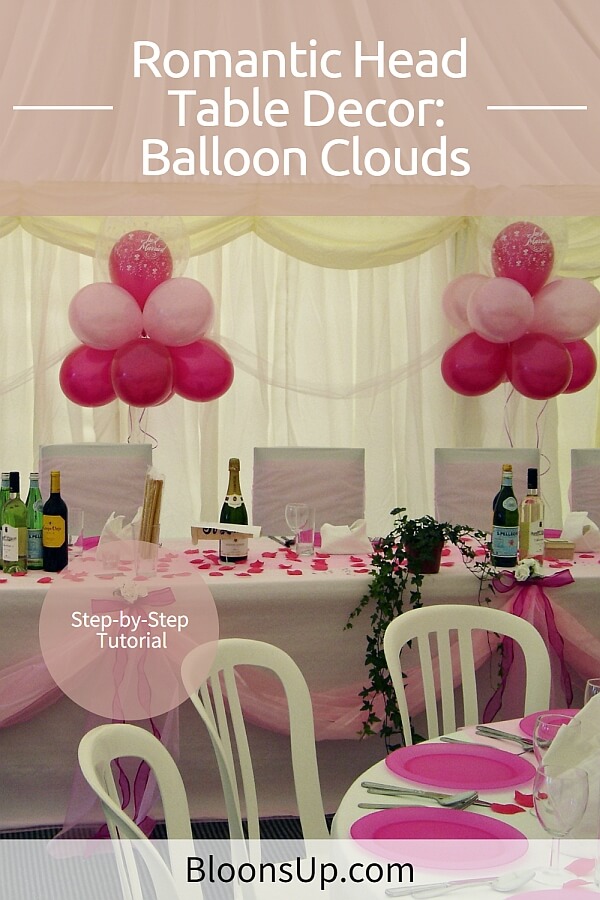
Have you ever seen those dreamy balloon clouds, also known as "Cloud Nine", at weddings? They create such a beautiful and romantic atmosphere, especially when used as head table decoration.
In this article, we'll show you how to make your own balloon clouds and bring a touch of whimsy to your next event.
Make sure to read to the end. You don't want to miss the no-helium alternative method!
If you make a purchase through a link on my site, I may receive a small commission at no extra cost to you. I only recommend products that I believe to have good value (affiliate disclosure).
Cloud Nine decorations consist of 9 helium filled balloons (hence the name!), arranged together to form a cloud shape. Often they are topped with a double bubble, usually a colored 11 inch balloon in a 16 inch clear balloon.
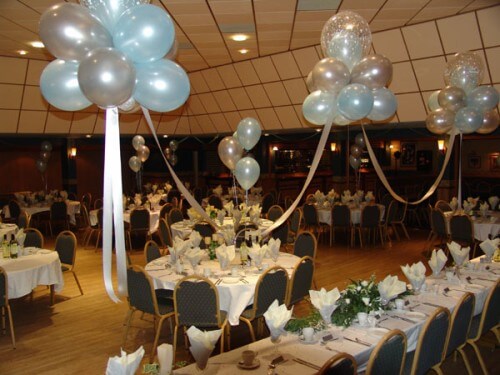
When strung together with ribbons and tulle, in arrangement of three or five clouds, they create the beautiful illusion of floating clouds above your head table!
What You Need for your Balloon Clouds
- 1 piece of poster board/card board box
- 1 plate or pie tin
- Scissors
- 1 heavy book
- Helium tank
- 11-inch helium quality latex balloons in two or three colors of your choice (9 for each balloon cluster, plus a few extra in case they pop)
- 16-inch helium quality clear latex balloons (1 per balloon cluster)
- 10-lb. monofilament line (fishing line)
- Color matching ribbons
Steps for Creating Balloon Clouds (Helium Filled)
(1)
Create a template for your balloons by tracing the outline of a plate or pie tin onto a piece of poster board. The size of the circle reflects the inflated diameter of your balloons. Remove the traced circle with your scissors.
As you inflate each balloon, hold it inside the cut-out, filling the balloon until it just touches the sides of the poster board. This way, all of your balloons will be approximately the same size.
Alternatively, you can use a home made or commercially available balloon sizer.
(2)
Fill the first balloon with helium. Tie a knot at the end. Attach a piece of monofilament line 2 feet in length to the tail of the balloon. Place the free end of the line underneath a heavy book.
(3)
Fill a second balloon and tie a knot at the end. Holding both balloons by their tails, tie them together, forming a duplet which looks like a big bow tie. Now fill balloons number 3 and 4 and create a second duplet.
(4)
Twist the two balloon duplets together at their centre, forming a balloon four-leaf clover (a cluster of 4 balloons).
(5)
Repeat Steps 3 and 4, making a second four balloon cluster. Bind this second cluster tightly to the first by running monofilament line through the centre and wrapping it in alternating figure 8s at least three times around each balloon.
Be sure to offset the balloons of the second cluster so that they lie in between, rather than directly on top of, the balloons of the first balloon cluster.
(6)
For the final balloon, you want to make a double bubble. Slip the 11 inch balloon over a chop stick, which makes it much easier to insert it into the 16 inch balloon.
Make sure that the necks of the two balloons are aligned before you withdraw the chop stick. Now inflate the outer balloon first and then the inner balloon. The trickiest bit is to knot both necks at the same time without losing too much helium.
Attach a 1-foot length of monofilament line to the neck of your double bubble and attach it to the center of the cloud cluster with the line. Your balloon cloud should look like this.
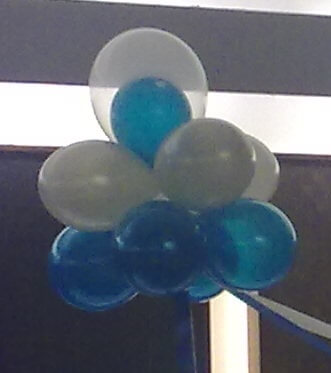 This is how your finished balloon cloud looks like.
(7)
Measure the distance from the surface where you will anchor your balloons to their suspended height. Cut a piece of fishing line to fit the distance and tie it to the center of the cluster on the bottom. Tuck all knots inside the balloon cluster and trim any excess line.
(8)
Place the balloon cloud cluster in the desired location. Anchor it to the floor or table by tying the end of the line to a heavy object, or securing the end with a piece of strong tape.
(9)
Now, for the elegant finishing touch, attach your color matching ribbon to the clouds. Have two lengths of the ribbon hang down from the bottom of the cloud, and string one length of ribbon between the clouds, forming a garland to connect the individual clouds into one cohesive decor.
How to Make Balloon Clouds Without Helium
Here's a special tip: if you don't want to use helium, you can still create stunning balloon clouds by suspending them from the ceiling.
Simply hang the cloud upside down with the double bubble at the bottom, instead of the top, and attach it to a ceiling hook. Check out the video below to see how it's done.

Apologies for the blurry video cover image. The video is rather old and small, but the how-to instructions are timeless!
Check out other ideas for Head Table Decorations


![Balloon Drop at a Party [Image Source: Eventbrite.com]](/image-thumbnails/how-can-i-make-a-balloon-drop-for-a-wedding-and-is-there-a-way-of-releasing-them-21850402.jpg/default.webp)
![Balloon Heart Frame [Image source: Aliexpress.com]](/image-thumbnails/where-can-i-buy-balloon-heart-frames-21973261.jpg/default.webp)
Have your say about what you just read!
Leave me a comment in the box below. Don't see the comments box? Log into your Facebook account, give Facebook consent, then return to this page and refresh it.