Join BloonsUp News and get your FREE balloon arch tutorial, extra tips, discounts & more!
- Home
- Basic Designs
- Balloon Bouquet
DIY Balloon Bouquet "Simple & Elegant"
How do you make a simple balloon bouquet? Before we dive into the steps, let me tell you one of the secrets of professional looking balloon centerpieces: you blow up the balloons to exactly the same size!
Now let's get to work and create this balloon bouquet. Simple and elegant!
If you make a purchase through a link on my site, I may receive a small commission at no extra cost to you. I only recommend products that I believe to have good value (affiliate disclosure).
What you need to make this simple balloon bouquet:

- 11" high quality pearlescent latex balloons, color of your choice (in our example we used 'Qualatex' pearl teal and pearl white)
- color matching curling ribbon
- helium
- balloon sizer and
- your self-made balloon sand weight

How to Make a Balloon Bouquet - Step 1: Inflating the Balloons
Everything ready? O.K., let's start to blow up a balloon with helium. Gently slide the neck of the balloon over the nozzle, keeping a firm grip with your thumb and index finger (fig. 1).
Just a word of caution, the type of valve we are using here is commonly referred to as a 'Quick Fill Station'. It works simply by applying downward pressure to the black flexible section.
If you've never used one of these before, press it down very gently so that you get a slow, controlled release of the gas into the balloon (fig. 2).
 |
 |
When the balloon is filled approximately to its optimal size (fig. 3) you check it using your balloon sizer (fig. 4) and inflate or deflate as appropriate.


Happy with the balloon size? Great. Now tie a knot. Check out our "Tips & Tricks" for an easy and quick way to tie a balloon knot.
How to Make a Balloon Bouquet - Step 2: Attaching the Ribbon
Cut about 8.2 ft (2.5 m) of ribbon. Take one end and tie a loose knot (fig. 5). Leave half a meter (1.6 ft) spare ribbon at the balloon end.
Slip the noose of the ribbon over the balloon neck and tie it in front of the knot (fig. 6). Tie a second knot to attach the ribbon securely.


Now attach the other end of the curling ribbon to your balloon base, allowing ca. 5 ft (1.5 m) of ribbon from the base to the balloon.
The first balloon will be the highest of the three in your balloon arrangement. Once you're happy with the height, tie off the ribbon with two securing knots (fig. 7).

Step 3: Arranging the Final Two Balloons
Did you know? This kind of arrangement is called a staggered or cascaded balloon bouquet. Another type would be a stacked or layered bouquet. Scroll down for an example!
Repeat steps 1 and 2 for the last two balloons. To achieve the correct positioning for your second balloon, pass the ribbon through the hoop on your base and adjust the height until the balloon slightly touches the one above it.
When you're happy with the positioning, tie off the ribbon with two securing knots. Follow the same procedure for the third and final balloon (fig. 8).

How to Make a Balloon Bouquet - Step 4: Curling the Ribbons
To add the finishing touch to your balloon bunch, curl the loose ends of the ribbons at the balloons and at the base. To do this you take an open pair of scissors.

Starting at the knotted end, place the ribbon between your thumb and the blade edge and then pull the scissors down the entire length of the ribbon. Try not to grip too tightly as you will make the curls too tight (fig. 9).
Congratulations! Your centerpiece is done. How simple and elegant!

How Do You Make a Staggered vs a Stacked Balloon Bouquet?
The main difference between a staggered and a stacked balloon bouquet is the way the balloons are arranged.
In a staggered balloon bouquet, each balloon is arranged at a different height, just lightly touching each other, to create a cascading effect.
My simple and elegant bouquet is an example of a staggered or cascaded design. Due to their filigrane nature, they are ideal for decorating a wedding table without obstructing the guest's views.
 Delicate and beautiful: staggered balloon bouquets on a wedding head table.
In contrast, a stacked or tiered balloon bouquet involves arranging two or more balloons level with each other, then stacking another tier of balloons above the first one.
By using this method, you'll achieve a more symmetrical and "heavier" look, making them a good choice for larger venues or floor standing designs.
 Stacked balloon bouquets create a more "substantial" look than their staggered counterparts.
Frequently Asked Questions about Balloon Bouquets
Can I make a balloon bouquet without helium?
Can I make a balloon bouquet without helium?
Yes, you can make a balloon bouquet without helium. However, it's important to note that balloons filled with air won't float, so you need to arrange them in a different way.
You can attach them to a balloon stick or create a balloon topiary tree, for example. This method is a great alternative if you want to avoid using helium or if you need your balloon bouquet to last longer.
How long do balloon bouquets last?
How long do balloon bouquets last?
The lifespan of balloon bouquets varies depending on factors such as the quality of the balloons and the environment they are in. In general, bouquets made with helium filled latex balloons will last around 8-12 hours while bouquets with helium filled foil balloons can last up to several weeks.
Tip: To extend the float time of latex balloons, treat them with Ultra Hi-Float.
How many balloons do I need for a balloon bouquet?
How many balloons do I need for a balloon bouquet?
The number of balloons needed for a balloon bouquet depends on the type, size and purpose of the bouquet. Will it be used as a table centerpiece or a floor standing decoration?
As a general rule, 3-7 balloons are sufficient for a table bouquet. Floor bouquets typically consist of 5 to 15 balloons.
Even numbers look best in a staggered bouquet. Odd numbers of balloons can be used in both staggered and stacked arrangements.
What is the best height for a balloon bouquet?
What is the best height for a balloon bouquet?
The best height for a balloon bouquet depends on the dimensions of the venue (small or large room, low or high ceilings) and where you're going to place the bouquets.
As a general rule: don't block the line of sight for guests.
Put tall centerpieces on tables with less traffic (for example gift or buffet tables), or make sure guests can see through the center of the design.
For helium filled balloon bouquets, arrange the first balloon at a height of at least 24" (61 cm) above the table. Ribbon isn't considered a visual barrier, so the guests can easily see and communicate with each other across the table.
The same rule applies to balloons on a stick or topiary trees with plexipoles or the Lomey pedestal system.
Can I customize a balloon bouquet?
Can I customize a balloon bouquet?
Absolutely! Customization is one of the best parts about balloon bouquets. You can choose the colors, types and number of balloons.
Add personal touches like a message or a themed foil balloon. For example, if you're creating a bouquet for a birthday party, you can add a mylar balloon shaped like a cake or a favorite character.
Decorating for Halloween? Add a pumpkin, black cat or friendly ghost to your spooky balloon bouquet.
The possibilities are endless, so let your creativity soar!
If you make a purchase through a link on my site, I may receive a small commission at no extra cost to you. I only recommend products that I believe to have good value (affiliate disclosure).


Recent Articles
-
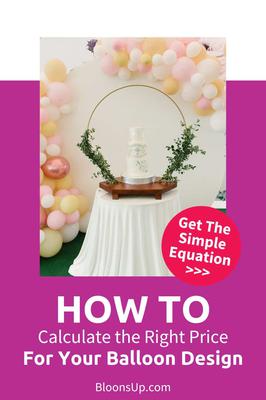
How do I put a price on balloon columns, arches and bouquets
 I am just starting out in the balloon decorating business and would like to know how to put a price on things. ANSWER: Hi Jeff, Welcome to the world
 -
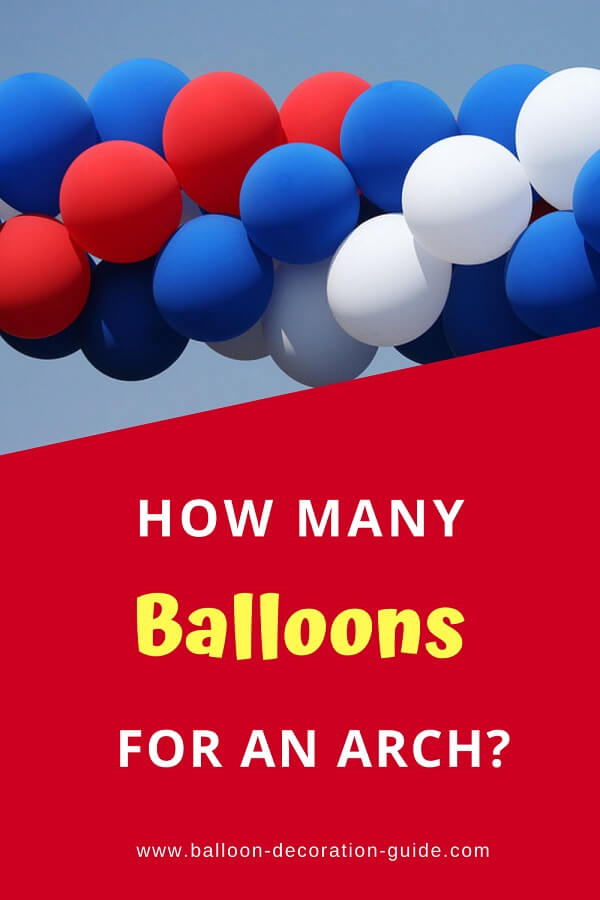
Balloon Arch Calculator: How Many Balloons for an Arch?
 How many balloons do you need for an arch or garland? Find out with our simple balloon arch calculator. Works for single-row, clustered and organic arches.
 -
Inflating Balloons?
Can you inflate balloons with a general type compressor or do you have to use a balloon air compressor? Does the air from one or the other affect the balloons

Have your say about what you just read!
Leave me a comment in the box below. Don't see the comments box? Log into your Facebook account, give Facebook consent, then return to this page and refresh it.